
Spring, here we are again. I am reminded every time this year how rewarding it is to start your own plants. It is a blessing to watch plants grow from start to finish and I always learn so much. Over the last few years of gardening, I've compiled some notes on starting seeds. Many of these notes I got from other gardeners so I will be linking to their YouTubes for further learning at the end!
Reusable Trays
You can start seeds in egg cartons, recycled plastic, solo cups, and compostable seed starting pots from any big brand store. Which is the best?
Store Bought Pot - I have kept plant pots from Home Depot and Lowe's that are thicker plastic and reused them for seed starting or up-planting (moving seedlings to a bigger pot).
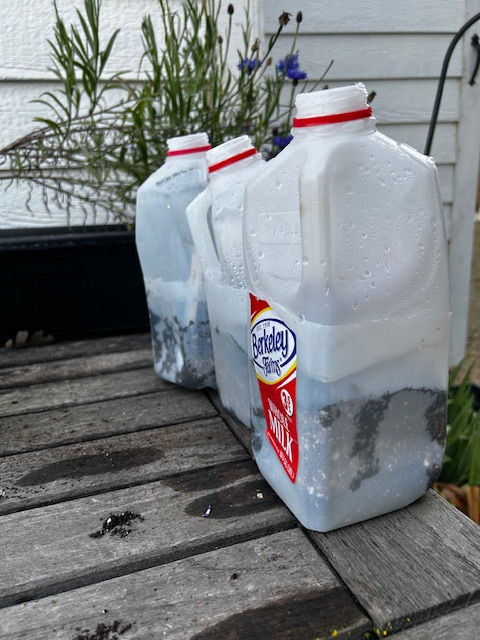
Jugs & Milk Cartons - My husband and I have stopped throwing out our milk cartons and plastic jugs. We cut these items halfway and use them for starting seeds. This is called milk jug sowing and you can read more here.
Salad & Tomato Containers - You can use the tomato and salad containers from the grocery store to then flip into seed starting cells and trays.
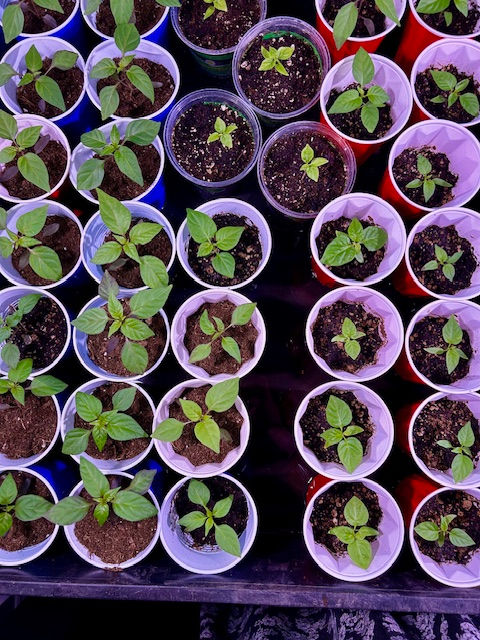
Solo Cups - Using Solo cups for seedlings is an easy way to start seeds. Just use 2 solo cups one for the soil with cuts at the bottom and another cup for holding the water. You can also put the solo cups in a tray for water instead of another solo cup. It's a great cheap option for starting seeds as they can be picked up at Dollar Tree.
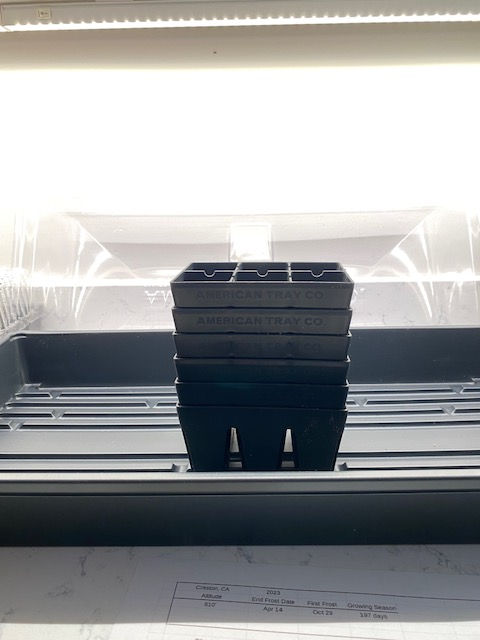
Reusable Cells & Trays
If you are planning on doing seedlings a few times every year, it may be best to invest in reusable high-quality cells and trays. There are a lot of options out there to choose from!
I like Epic Gardening's offerings for reusable cells and trays as they are a very durable plastic. The cells have a nice large hole at the bottom to push out the seedling easily. It can be expensive, but they do have sales throughout the year.
MI Gardener & Bootstrap is another option I would recommend. I have yet to buy these from them, BUT I have bought other things from MIGardener and was very impressed with the quality. They are more cost-effective.
True Leaf has a ton of seed-starting equipment. They have hydroponic options as well as micro gardening supplies. I have bought a few things when Epic wasn't on sale and have been happy.

So, which is best? That is really up to you and what you can afford. Recycling is a great use of otherwise trashed items. The reusable cells and trays are best for gardeners who are gardening throughout the year. We use a blend of all the above. I start seeds in reusable cells and trays then move them into recycled pots and solo cups.
*One quick note is whatever you reuse and recycle, be sure to clean them well between use. You can use water and hydrogen peroxide to sanitize. This will help cut down on any mold and fungus.
Seed Starting Soil
You can buy a starter soil mix (Espoma for example) or you can even reuse potting soil. That being said, I have found more success and savings with making a starter mix. It's super simple.
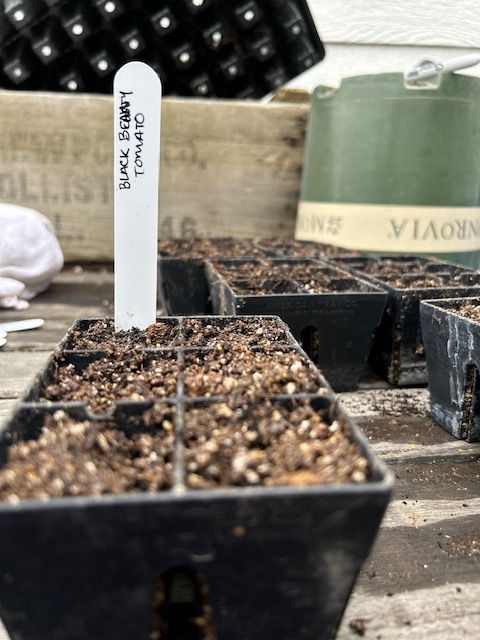
Seed Starting Soil Mix
1 part Peat Moss
1 part Perlite
1 part Vermiculite
The 1 part is whatever you are using to measure...bucket, cup, scoop...your choice.
Worm Castings - I add worm castings when planting seeds and up-planting. It's great at aerating and giving nutrients to the soil.
Moisture - Whatever you do, make sure that before you start planting your seedlings that the soil mix is moist. You don't want it soggy. Mix the soil well as you add water to it. This helps get the soil ready for planting.
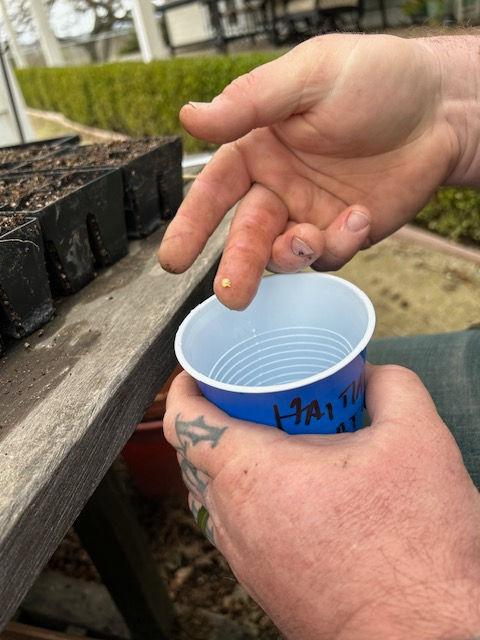
Soaking Seeds
Some seeds benefit from soaking or adding moisture before planting. This isn't necessary for germination, but it can help jump-start seedlings.
Soak
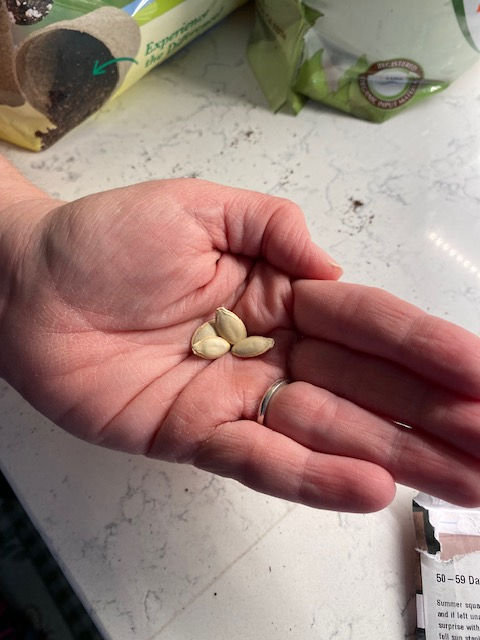
Peppers, cucumbers, squash, pumpkins, sunflowers, onions sets, garlic, corn, and beans can benefit.
How To:
Use slightly warm water and put in the seeds. Leave for 8-12 hours.
If doing peppers, chamomile tea can be a good option. However again, not necessary as my husband had successful germination for most of his peppers with just water soaking.
Once done soaking, sow seeds immediately.
Moist Paper Towel Method
Peppers, cilantro, parsnips, tomatoes, cabbage, squash, pumpkin, swiss chard.
How To:
Spray a paper towel till it is moist. Add the seeds and place in a plastic bag. Spray more water on the paper towel as needed throughout the time.
Remove and sow once germination occurs.
Scarification of Seeds
Another option to help with germination before sowing is roughing up the seed surface. This helps let the moisture in more easily to the seed.
This method works for larger seeds like nasturium, squash, pumpkins, beans, and peas.
How to do Scarification:
Use a nail file or sandpaper and scuff the surface of the seed.
Use nail clippers to clip a little bit off the seed (like a squash seed).
Temperature
Seeds like warmth, but they don't like it too cool or too hot.
Indoors - If you are starting seeds in your home, I recommend making sure it is around 65-69 degrees.
Greenhouse - If you are starting seeds in a greenhouse, be careful that the temps do not become too hot or too cold. Many gardeners use heat supplements in their greenhouse during the Winter to start their seeds. Then there is the warm Spring and hot Summer temps to watch. Before having a greenhouse, I didn't really realize just how much of a hot box it could be. Our greenhouse has an auto vent and we added fans, but a 100+ degree day would destroy any seed for the Fall garden.
Heat Mat - Using a heat mat is very helpful when first sowing seedlings and I highly recommend using one before the seeds germinate. I've heard some say not to use heat mats, but I have for the last few seasons and have not had issues.
Water - Warm water to refill your growing trays can help encourage growth.

Lighting is Important
Light is important and can make or break your seed starting. Not having enough light can stunt growth and create "leggy" seedlings as they search for light.
Window Sill - If you decide to use a window sill, make sure you are getting 6-8 hours of full sun.
Grow Lights - There are many options, but professional grow lights are a lot of money. We got some cost-effective grow lights on Amazon and grow light bulbs in lamps from Lowe's. That being said you can use just normal light bulbs that meet the below light requirements:
1500-2000 Lumens - This is the intensity of the light.
4500-6500 Kelvin - This is the color temperature.
Grow Light Position - Make sure they are 2 inches from your seedlings when they are starting. You can lower your seedlings or lift the lights as they grow.
Reflect Light - Like in photography, you can make reflectors to help bounce light to your seedlings. This helps maximize the lighting by capturing what is being put out by the light source. This is helpful with grow lights and window sills. We just took cardboard, foil, and tape to make reflectors.


Air Movement Must Have
This was overlooked by me when I first started gardening. An oscillating fan will help replicate the wind that the plant will eventually experience. The fan will help strengthen the stems and prepare them for outdoors.
Furthermore, the fan helps keep the top of the soil dryer to avoid damping off, fungus gnats, and mold development.

Moisture Control
Water is another necessary part of growing seeds, but too much water is not good for seeds.
Avoid watering from above. This will create issues again with mold and damping off (kills your seedlings). Watering on top can invite fungus gnats.
Use a tray to hold water at the bottom of the cell trays. This helps control the water going to the seedling.
Allow the tray to dry out. If you pick up the tray and it feels heavy, wait to water. Add water once the tray feels lighter.
Hardening Off
The seedlings are looking strong enough and the chance of frost has passed...time to move the seedlings outside! True, but hardening off is a necessary process to avoid shock. Your seedlings have been used to a controlled environment and just planting them directly into the elements will lead to struggle and loss. There are a couple of ways to harden off.
Overcast Days - If the forecast is calling for a few days of overcast weather, you can move your seedlings out during the day to enjoy the filtered light for 3-4 days.
Gradually - The longer method is moving the seedlings out gradually.
Day One: Place seedlings in full shade for a couple of hours.
Day Two & Three: Place seedlings in full shade for 4-6 hours.
Day Four: Put seedlings in partial morning sun for a couple of hours.
Day Five: Again partial sun for four hours.
Day Six: Partial sun for six to eight hours.
Day Seven: Full sun for four hours.
Day Eight: Full sun for 6-8 hours.
If the plant is looking healthy, you could plant at this point, OR continue to gradually introduce it to the outdoors.

The above way is ideal to gradually introduce seedlings to the outdoors but it can be tough with work schedules. Just do your best. The main thing is to not throw your plants out without any hardening off. I have sometimes taken 2 weeks to harden off my seedlings due to my busy schedule. I just do the above at a much slower pace and have avoided shock issues.
Phew, that was a lot of notes, so thank you for sticking with me if you are reading to this point. I hope it helps with your Spring gardening! If you are looking for more information, check out my other blog post on starting seeds. Also, below are some much more experienced gardeners to check out that I watch and am encouraged by. Enjoy!
MIGardener (located in Michigan)
Epic Gardening (located in California)
Next Level Gardening (located in California)
GrowVeg (located in the UK)
Comments